Roaring Camp! I'm in the engineer's seat. Have a highball all the way to the summit. Very busy - Cylinder blow off - Johnson bar muscled out of natural to full forward - max steam pressure to the cylinders - Brake released - throttle cracked on - we're rolling - Johnson back one notch - Doug is working the injectors - 2 pops on the throttle - the noise is deafening - all slack is gone as the old girl digs in - wheel slip - hit the track sanders! - Johnson back to notch two......and the ride is just beginning!!
Projects
Edna River Gorge Trestle Helix Construction
One of the frustrations that I have always had trying to photograph models close up is the depth of field is always off. If you focus on the front of an engine the rear is always out of focus. Finally the problem is solved using a program from Helicon. (www.heliconsoft.com) The following series of photos were taken using a Nikon D40 (any good camera will work). Settings used in this project - Aperture Priority, f16, no flash, tripod mounted, IR shutter release, JPG or RAW format. Use the procedure steps below:
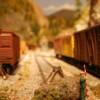
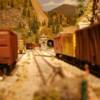
Step one: Focus on a very near point. Take the picture. (notice everything else is out of focus)
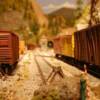
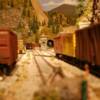
Step two: Focus on a point a little further away. Take the picture. (notice close up and far away are blurred)
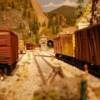
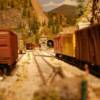
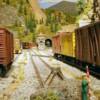
Step three: Continue focusing on areas further away, taking several more photos. For illustration purposes, I have included six photos (out of the 12 taken) below.
Step four: Save ALL of the photos on your computer in one file.
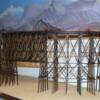
Step five: In the Helicon program, select all of the photos in the file and hit RUN. The program will combine all photos into one photo. Save this and you're done! Adjust contrast, etc using Photo Shop, Picasa, etc if you like. The last photo in this series is the final.
Photography
Live Steam!
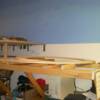
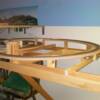
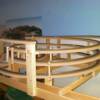
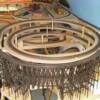
"The Edna River Gorge Trestle" custom built by Lowell Thomas, now has a permanent home! The entire helix will be covered by Eagle Mountain with tunnel portals on each end of the trestle. This completes the mainline and after scenery is complete there will be a "Golden Spike" ceremony. Thank you, Lowell, for your
great contribution to the layout!
Construction Tip: Notice the "helix bridge" on
the middle photo allowing clearance for the
Omaha connector track. (or you could just
think ahead and avoid this problem altogether)
......blush...... ;-)
